Settings
Snapr gives you full control over your screenshot workflow. From custom shortcuts to appearance themes, every option is designed to help you capture faster and stay focused. Tailor these settings once and enjoy a streamlined productivity capture tool experience every day.
Available Options#
- Language settings
- File save settings (capture files and workspace files)
- Post-capture action settings
- Region selection mode settings
- Recording countdown settings
- Capture shortcut assignment
- Appearance settings (capture control bar, region style)
Settings Details#
File Save Settings#
Capture File Save Location
This is the default location where original capture files are saved after a Snapr capture is completed. The default is Snapr/Captures within your user folder, but it can be customized.

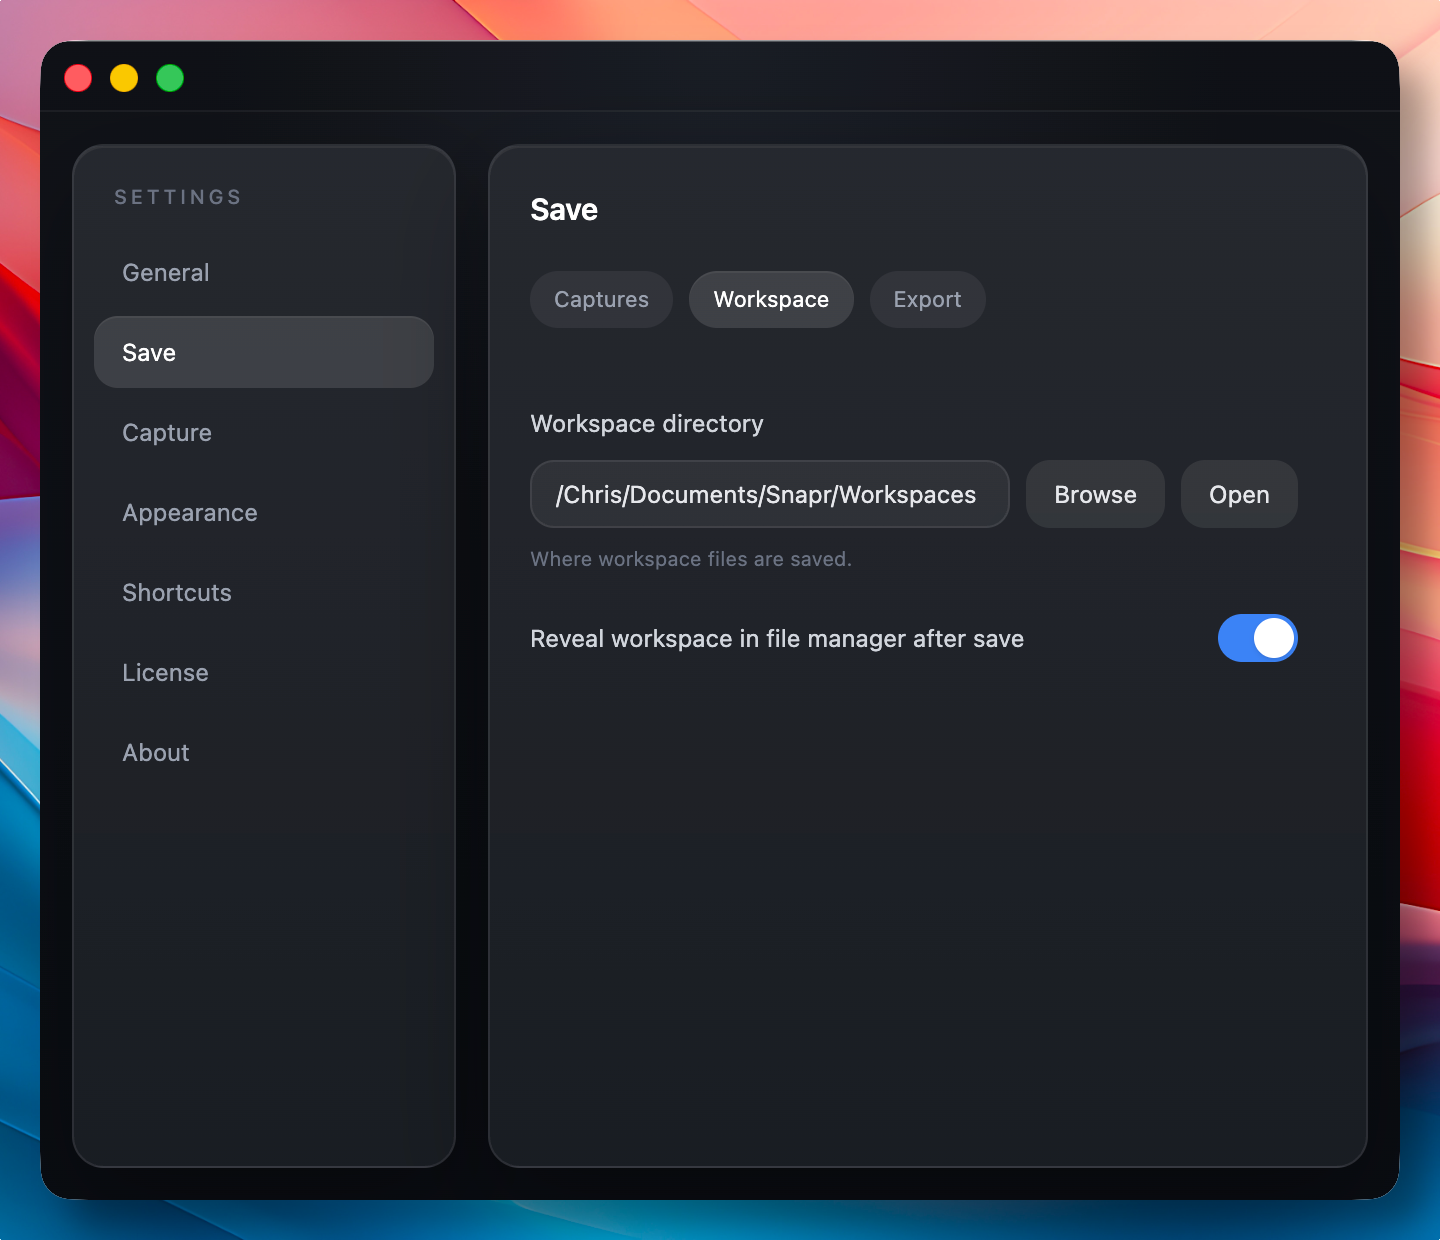
Workspace File Save Location
Snapr is a tool designed to let anyone capture their screen quickly and easily. Beyond that, it also provides editing features to refine your captured images into more polished results. In Snapr, the space where this editing takes place is called a workspace, and the workspace refers to the actual location where your work files are saved.
Post-Capture Action Settings#
Snapr strives to accommodate a variety of user purposes and workflows. Whether you want to use your capture results right away, jump straight into editing, or simply finish capturing quickly and quietly with no extra steps, we have considered all of these needs. You can choose your preferred behavior in the post-capture action settings.
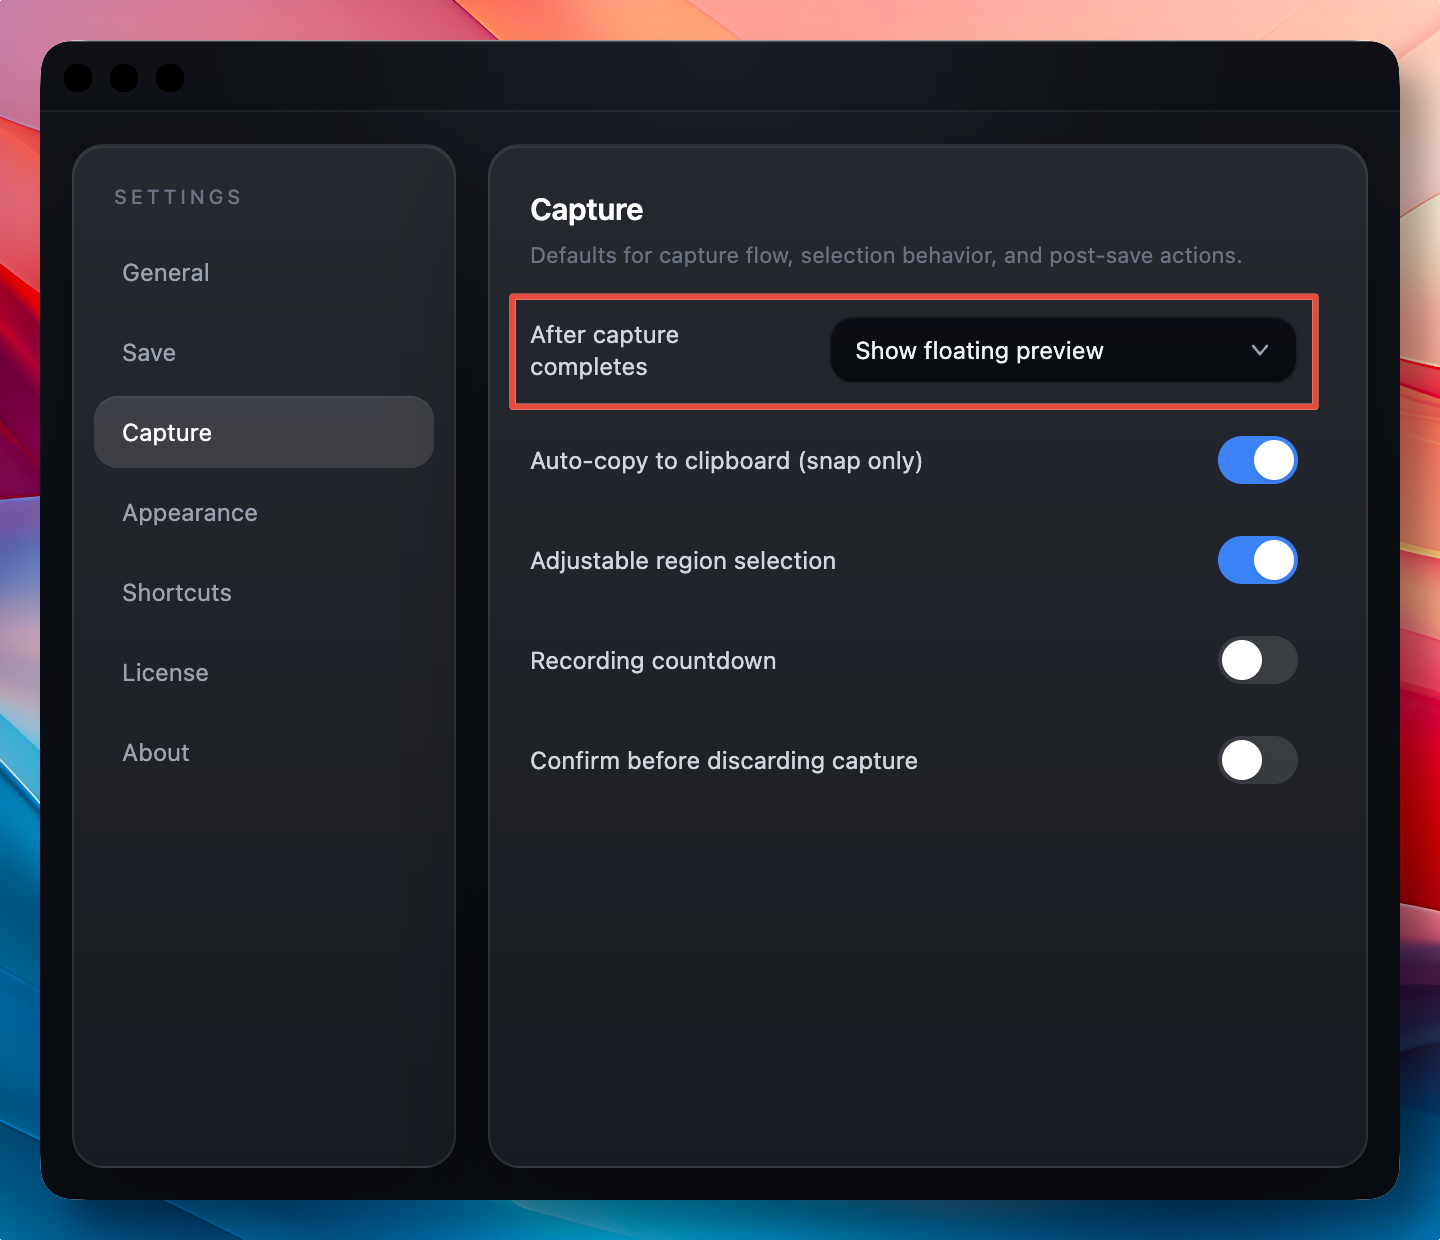
- Show preview in floating window: A small preview window appears after the capture is complete. You can quickly review the captured image and jump into editing if needed.
- Open capture save location: The folder where the capture was saved opens automatically. This option is useful for users who want to check the captured file right away or use it in other tasks.
- Do nothing: The capture completes quietly with no additional actions. This option is useful when you need to take multiple captures quickly, letting you stay focused without unnecessary windows or notifications.
Region Selection Mode Settings#
Snapr provides various modes for selecting the capture target: region selection mode, window selection mode, full screen mode, and device mode (Mac only).
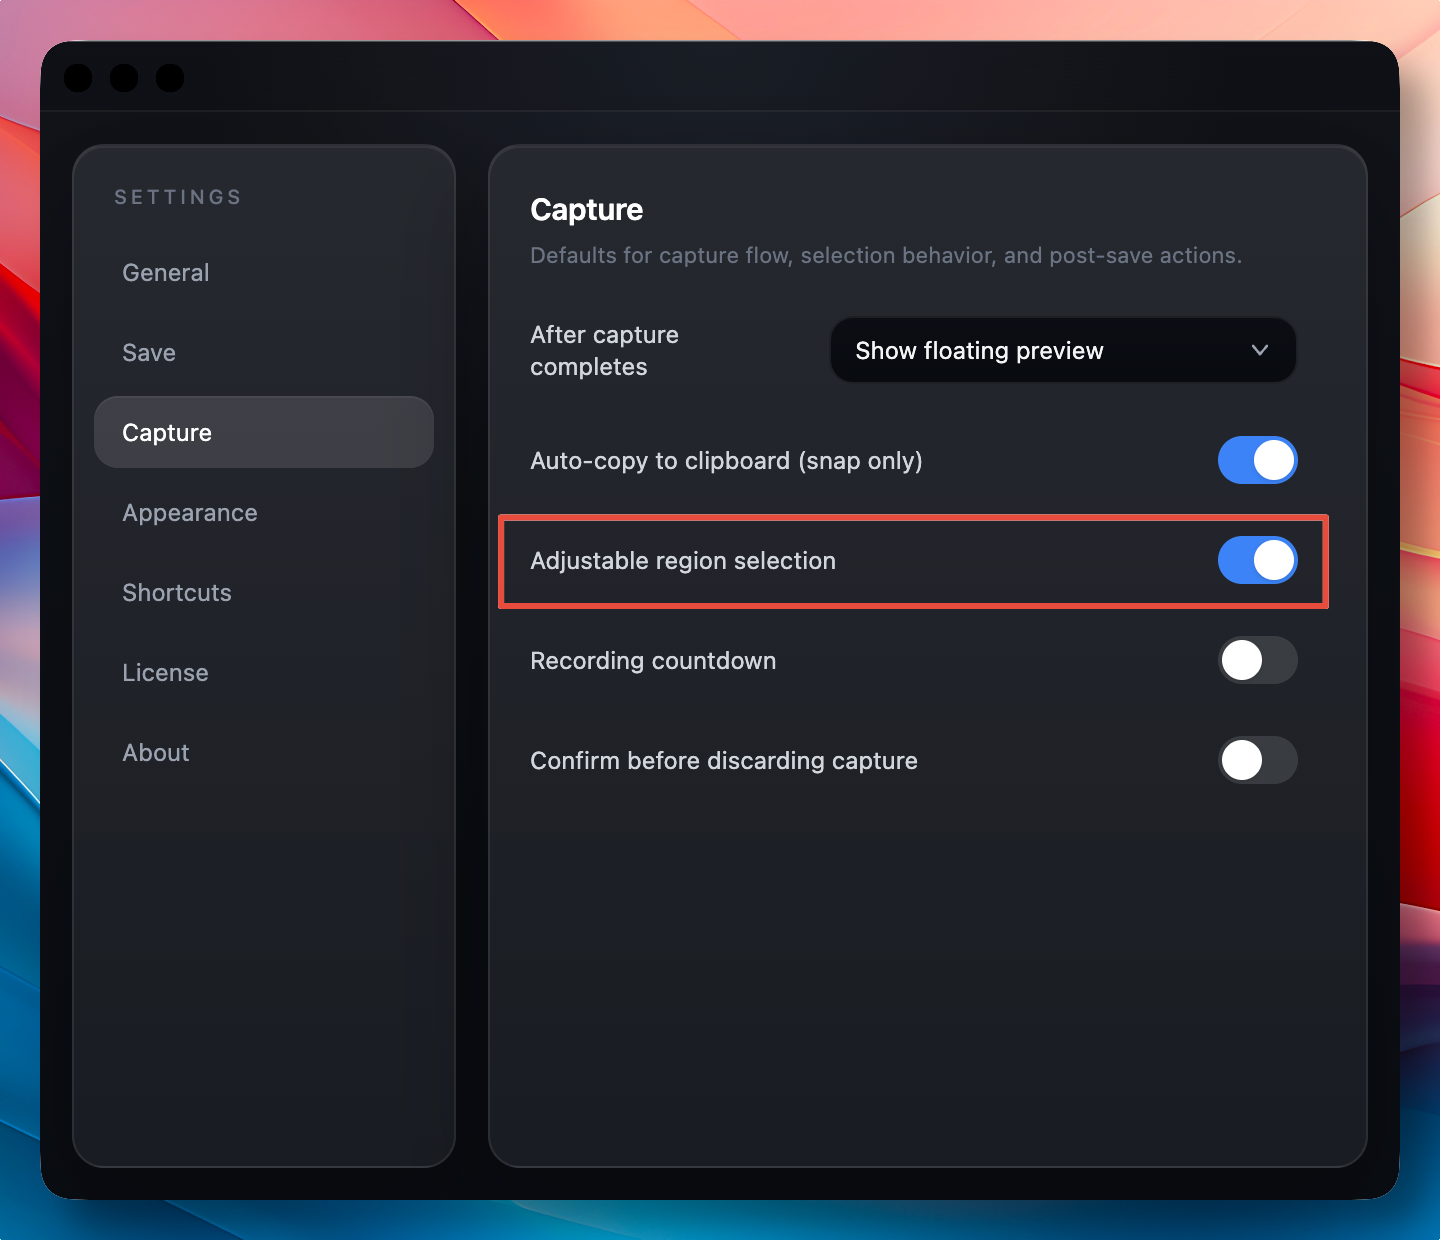
In the region selection mode, the capture behavior changes depending on the resize option:
-
Region Resize ON: After selecting a region, you can readjust the size with your mouse. This is useful when you want to fine-tune the area precisely from your initial selection.
-
Region Resize OFF: The capture completes immediately after you drag to define the region. With no additional adjustment step, this is ideal for users who want to finish capturing quickly.
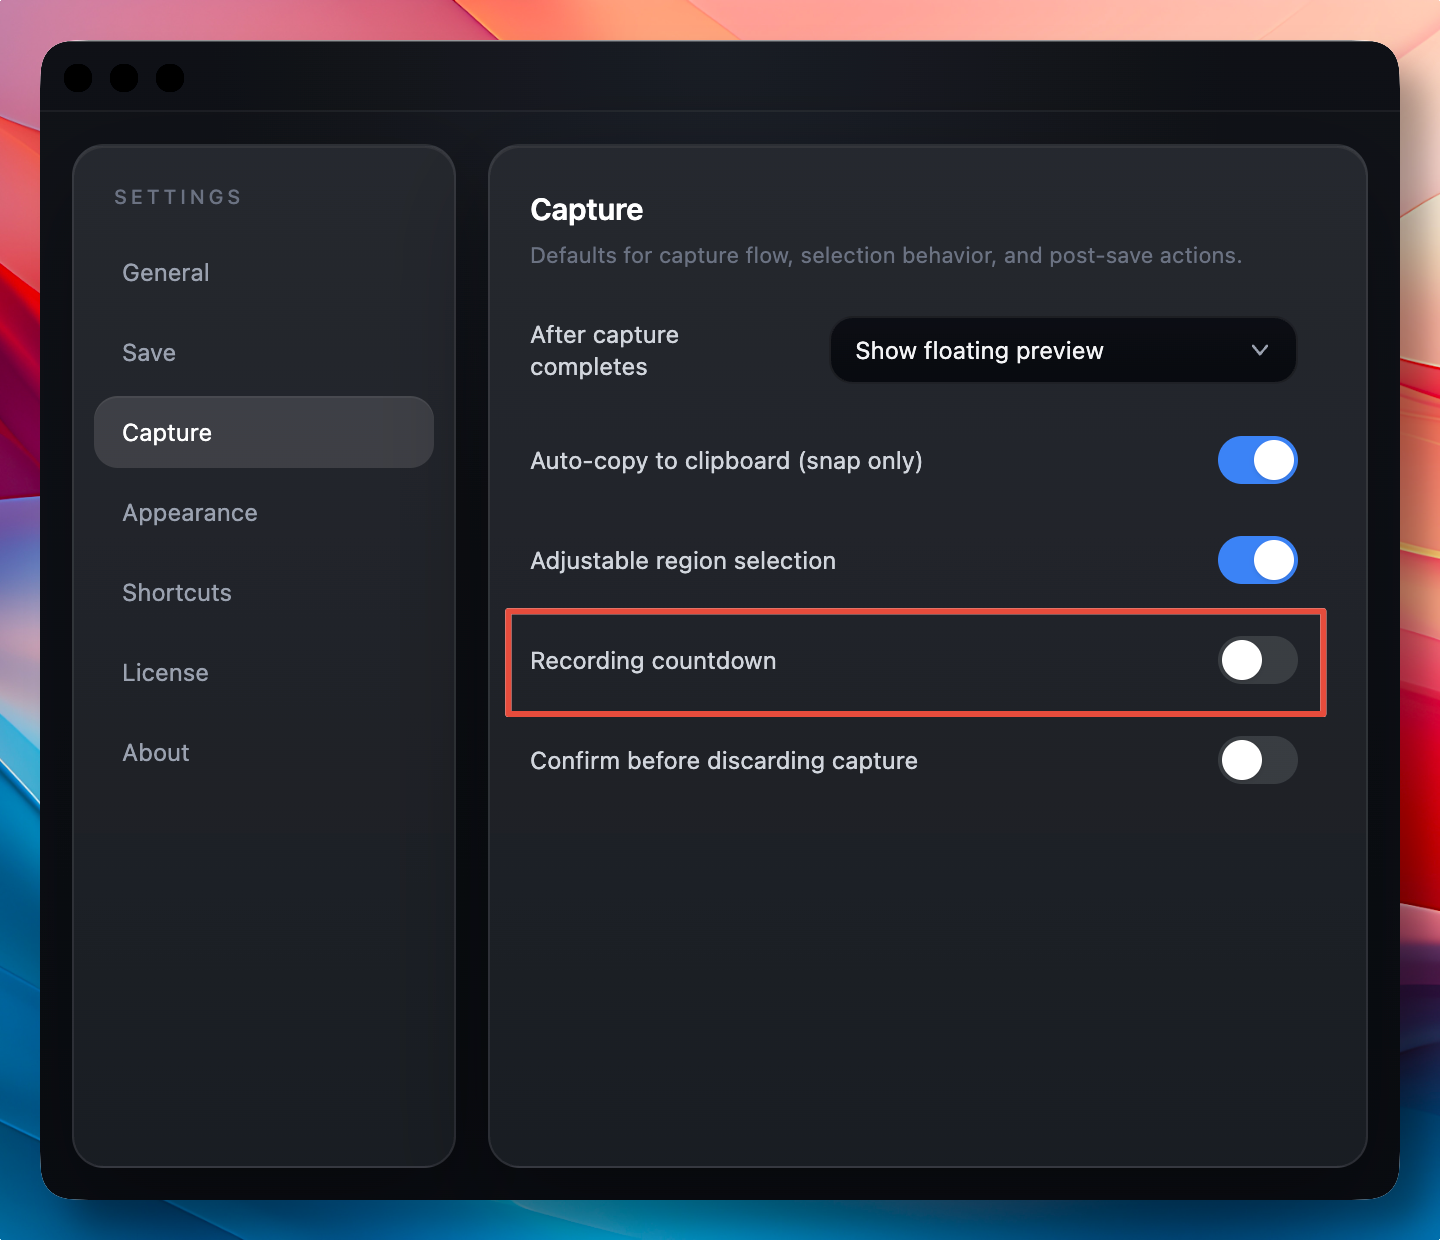
Recording Countdown Settings#
You can choose whether to display a countdown (3 seconds) before recording begins. This option is useful for users who need time to prepare before the recording starts.
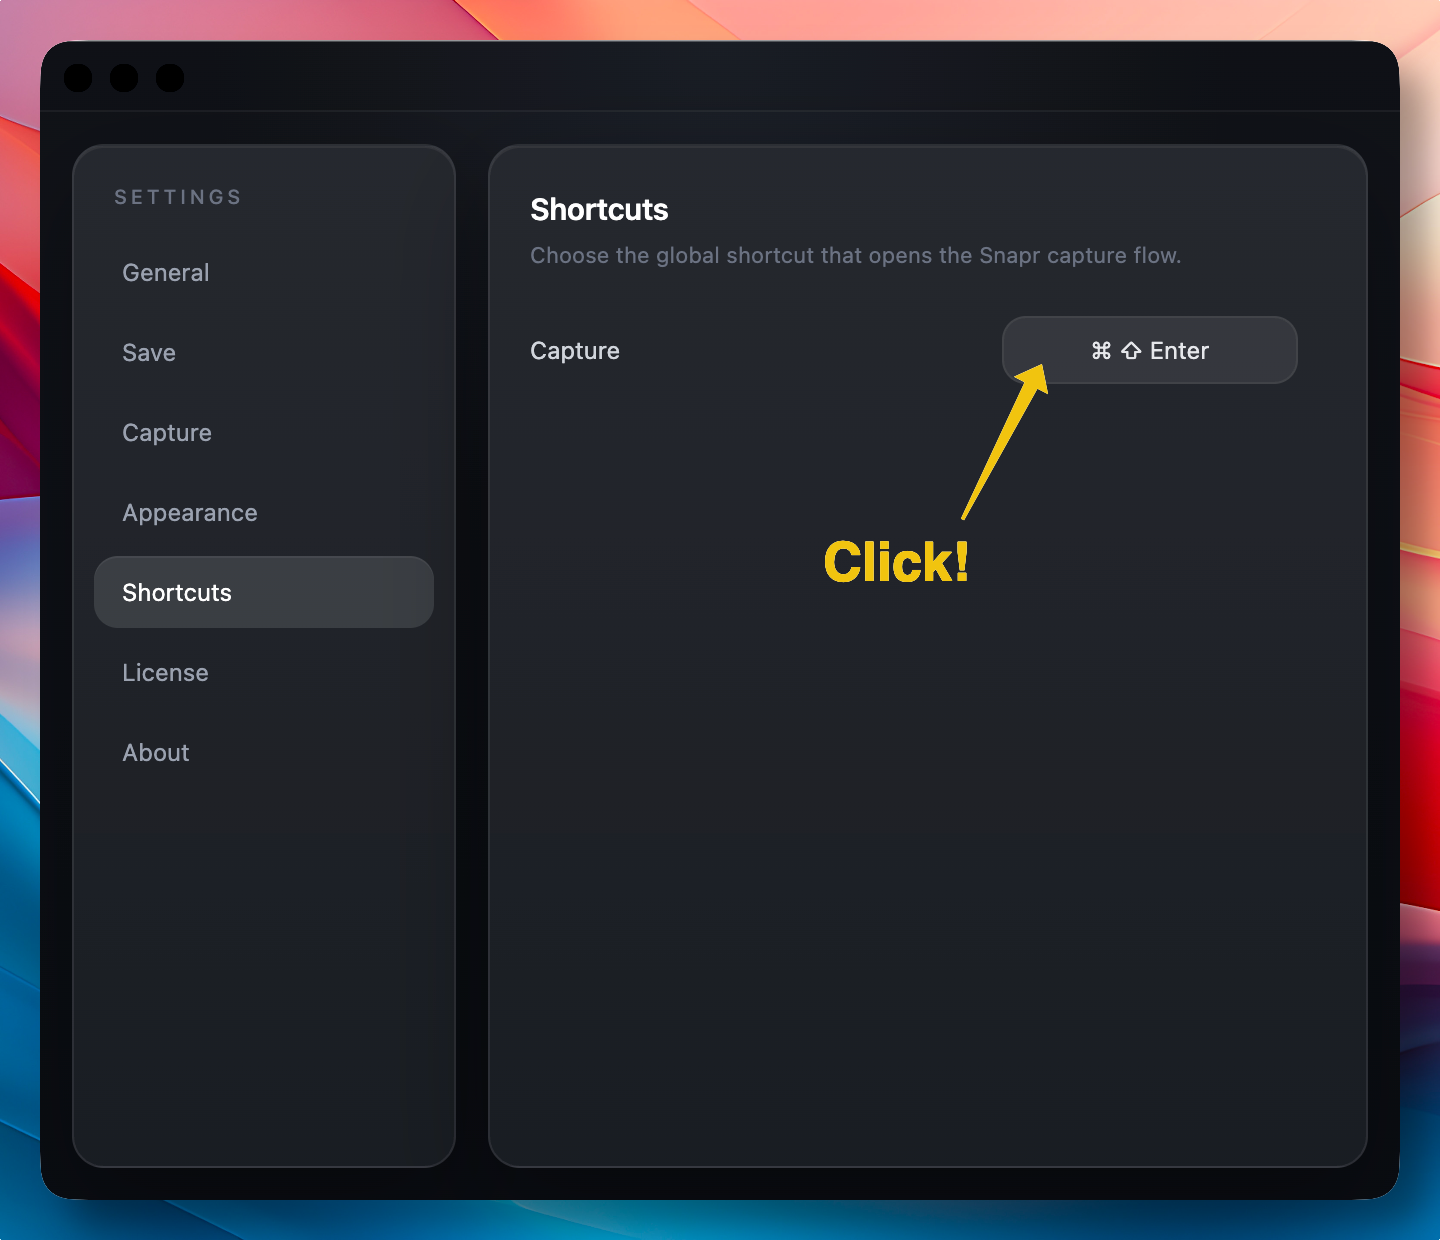
Capture Shortcut Assignment#
Snapr also provides shortcut settings for quickly launching captures. What makes Snapr special is that you can freely assign any shortcut you want. A well-chosen shortcut is the foundation of a fast screenshot workflow — it removes the need to reach for your mouse or navigate menus. Assign a key combination that feels natural and you will save seconds on every capture throughout your day.
Appearance Settings#
Snapr offers a variety of options to customize the appearance of capture tools to your preference. You can configure the position and transparency of the capture control bar, the style displayed during region selection, and more. A personalized interface keeps your screen capture tool out of the way when you do not need it and immediately visible when you do.
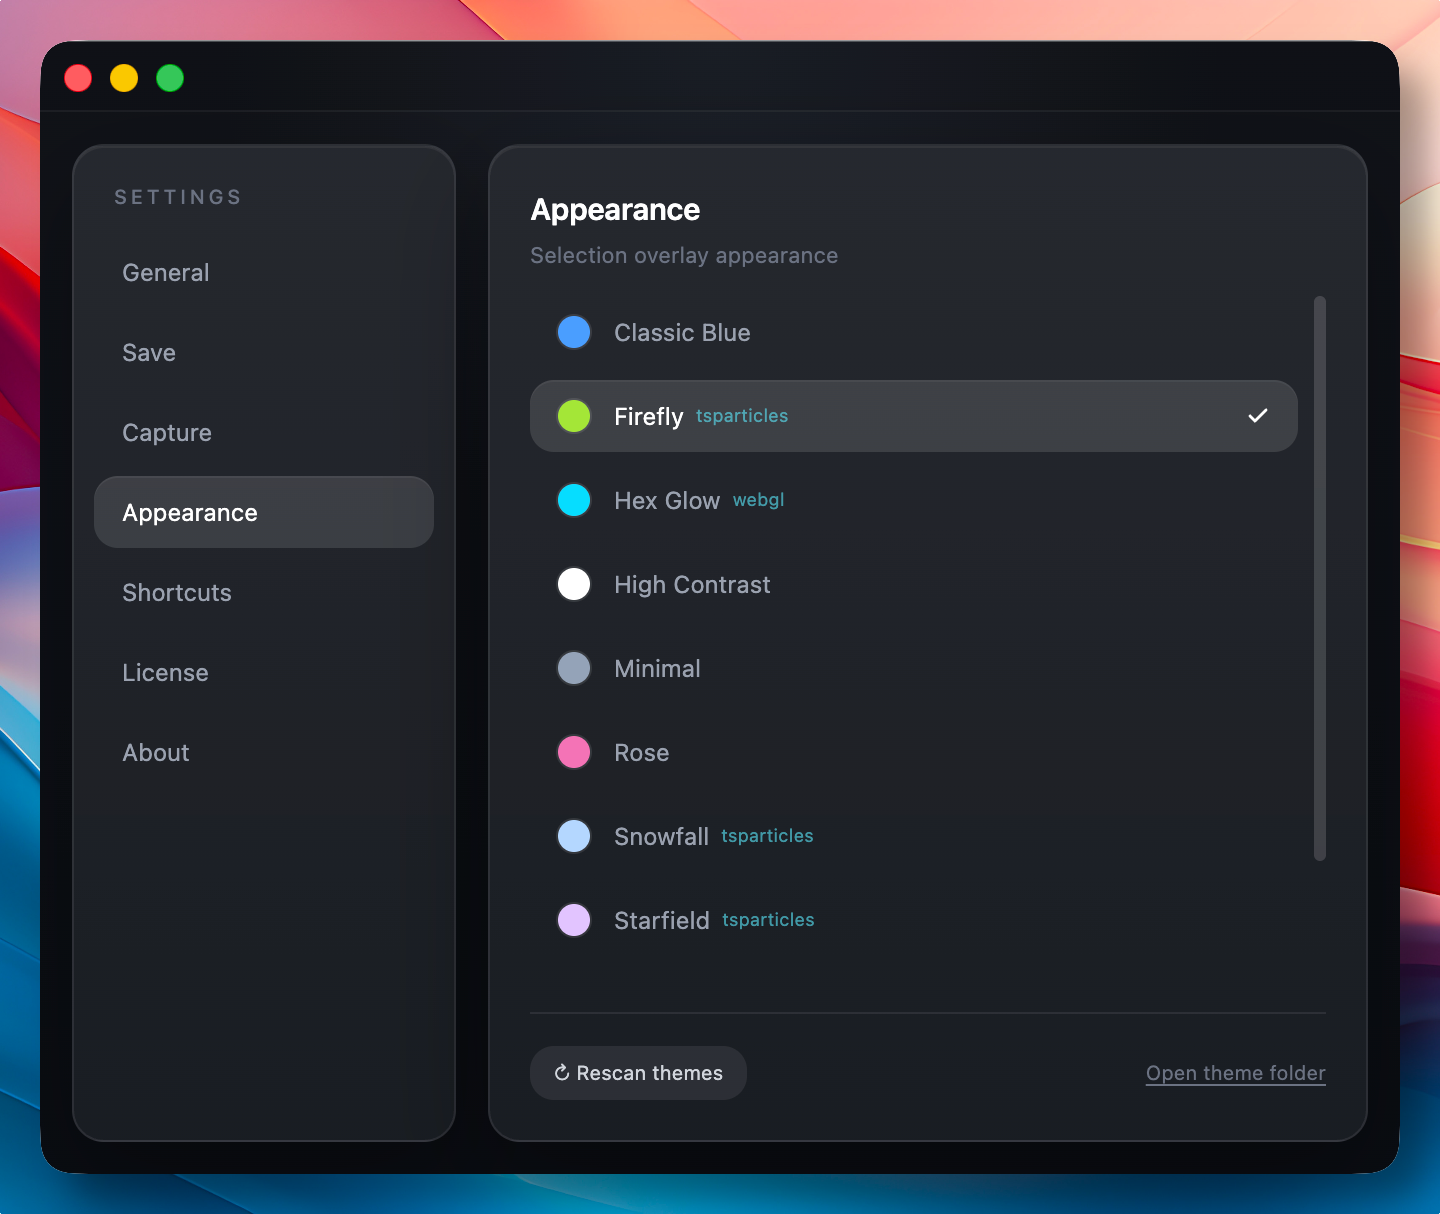
You can even do things like this. Custom themes are already supported, though an official guide will be provided in a future update.