Activating Capture & Options
Activating Capture#
Snapr capture can be activated via the tray icon or keyboard shortcuts. Launching your screen capture tool with a single key press keeps you in the flow — no window switching, no menus, just instant capture readiness.
- Shortcut: Press the shortcut key configured in settings to activate capture mode.
- Tray Icon: Click the Snapr icon to activate capture mode.
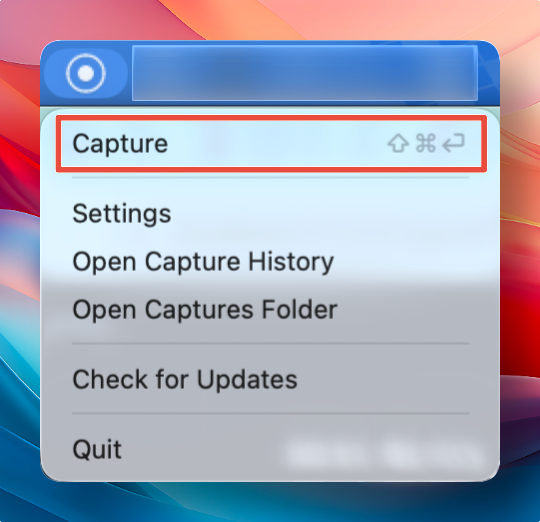
When capture mode is activated, the following control bar will appear.

Capture Options#
Snapr provides flexible capture modes so you always get exactly the content you need. Switching between screenshots and recordings — or between region, window, and full-screen targets — takes a single keystroke, making it one of the fastest screenshot workflow tools available.
Capture mode settings
- Screenshot Mode: Saves the capture region as an image
- Screen Recording Mode: Saves the capture region as a video
You can quickly switch modes using the
Tabkey.
Capture target settings
- Region Selection Mode: Capture by dragging to define a region
- Window Selection Mode: Capture by selecting a window
- Full Screen Mode: Capture the entire screen
You can quickly switch capture target modes using the number keys
1,2,3.
Region Selection Mode Tips#
Power users will appreciate these shortcuts for a fast screenshot workflow. They let you lock aspect ratios, snap to exact pixel dimensions, and resize with precision — ideal when preparing assets for documentation, presentations, or social media.
- Using size or aspect ratio presets lets you quickly capture at your desired dimensions.
- While dragging to define a region, hold the
Shiftkey to resize while maintaining the current aspect ratio. - Hold the
Ctrlkey to resize in power-of-two increments (e.g., 1024x768, 512x256).